Portfolio 09 - Cinemachine/Post
Post Processing 1
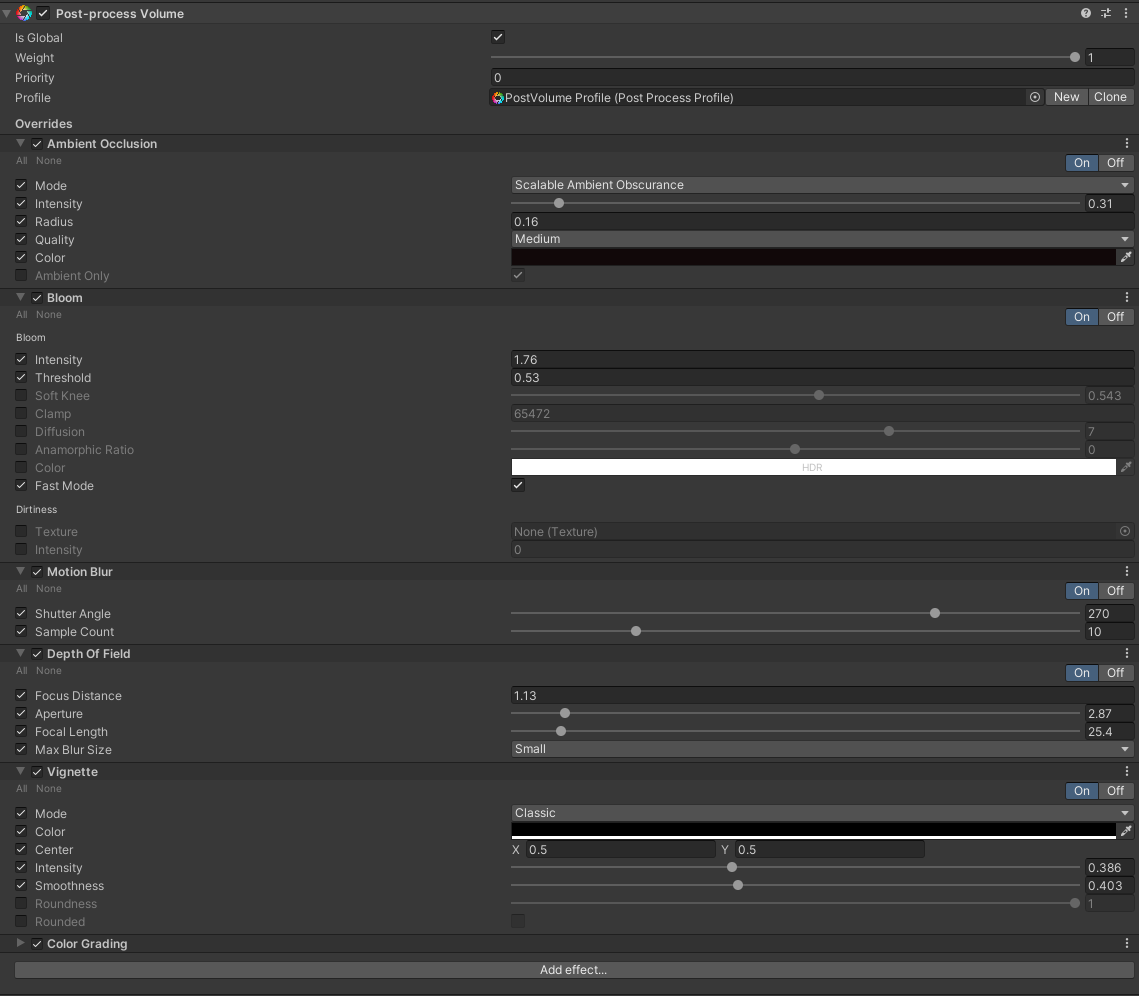
Starting off where I left off from last devlog, I tweaked some of my post processing settings, which allowed me to achieve a very good result, the picture shows my main post profile which adds a richness to the image.

Below is the stack I used, a quick overview, AO is added to increase the surface shadows in the scene, this adds a lot of depth to a scene and can help with a common problem (Hovering looking objects), Bloom and depth of field add alot of quality to an image as they help blend 3d objects into a cohesive image, vignette focuses the attention to the centre of the screen (the character). other effects are pretty self explanatory.
Post Processing 2
Now onto my additional effect, I decided to try and fit with my theme of the environment and make an oldschool filmic black and white effect, this really fits well with the oldschool aesthetic of the models I made and downloaded previously. I was thinking it could be used when interacting with objects that have some kind of significance to the story, which influenced my custom camera shown later in this log.
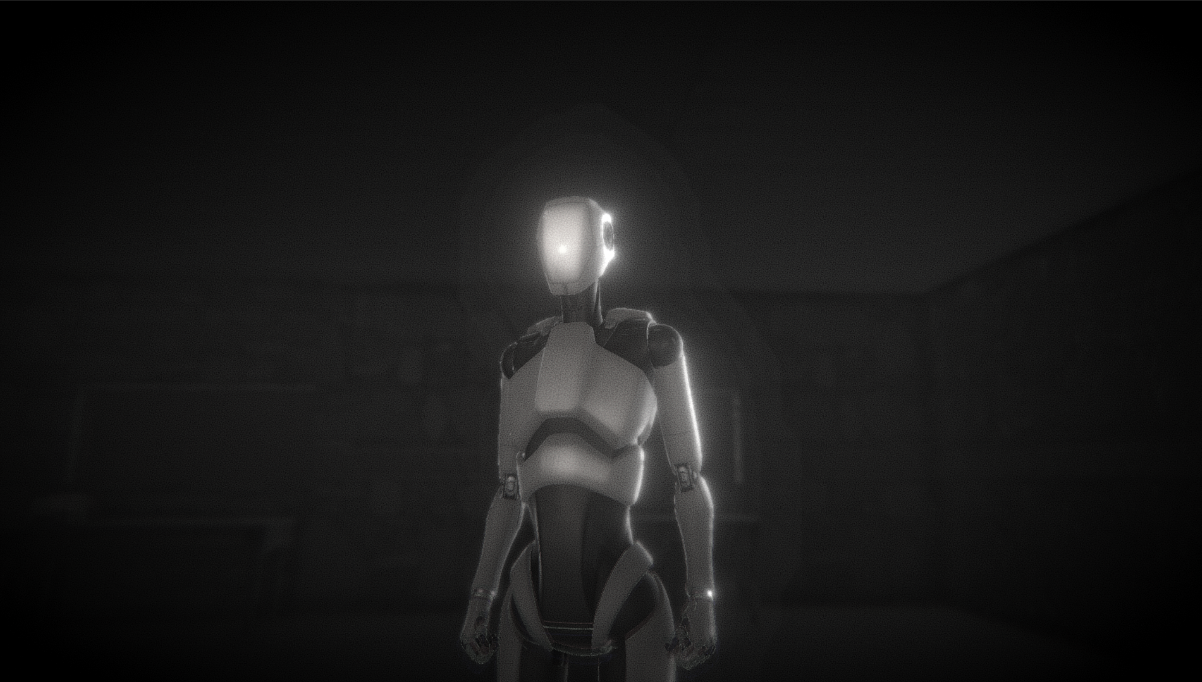
The effect was achieved by using the script supplied in the tutorial, as well as additional layers to push that vintage aesthetic. As you can notice a grain effect was also added which definitely sells the effect more. Finally pushing the bloom achieves a vintage visual style as a lot of old movies didnt handle high exposure and would often have a blown out highlight to them, or mostly white sections in high exposure.

Cinemachine
Having already setup a third person controller using Cinemachine, using the Third Person Controller asset, I decided to keep using that and add another camera as a close up interaction sequence.
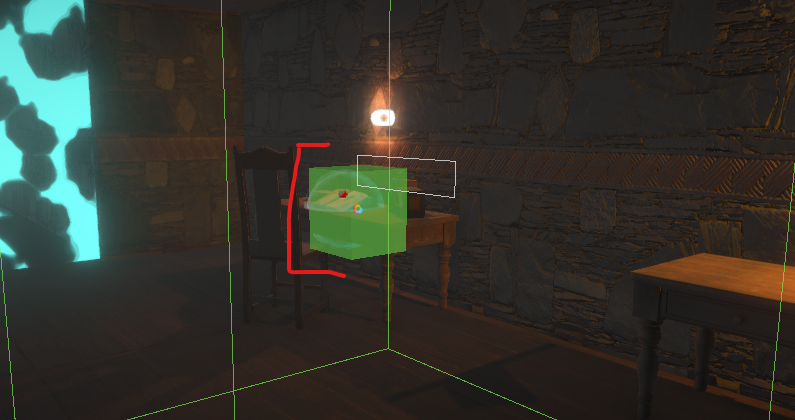
I chose the radio object that i had a collision box on for one of the previous devlogs, using that same collider, I was able to change the priority of the VM cam to seamlessly toggle between the third person camera and the radio (Closeup).
As you can see the script was edited to change priority, this could have also been achieved in the Event in inspector.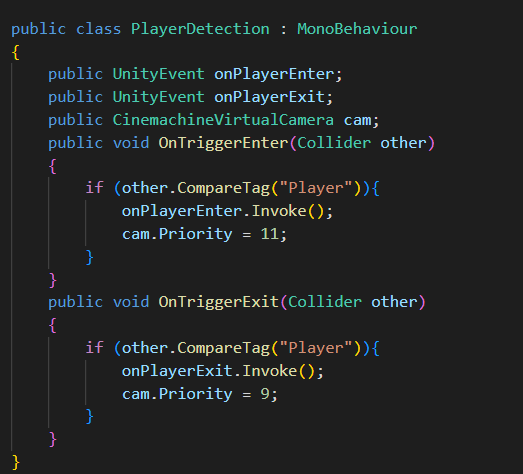
The post processing of my vintage settings was also added to a collideable volume, so that when the player collides and the virtual camera becomes the main one, the vintage visuals will seamlessly transition.
The Results
Here are the gif showing the transition from third person camera controller to the closeup camera.
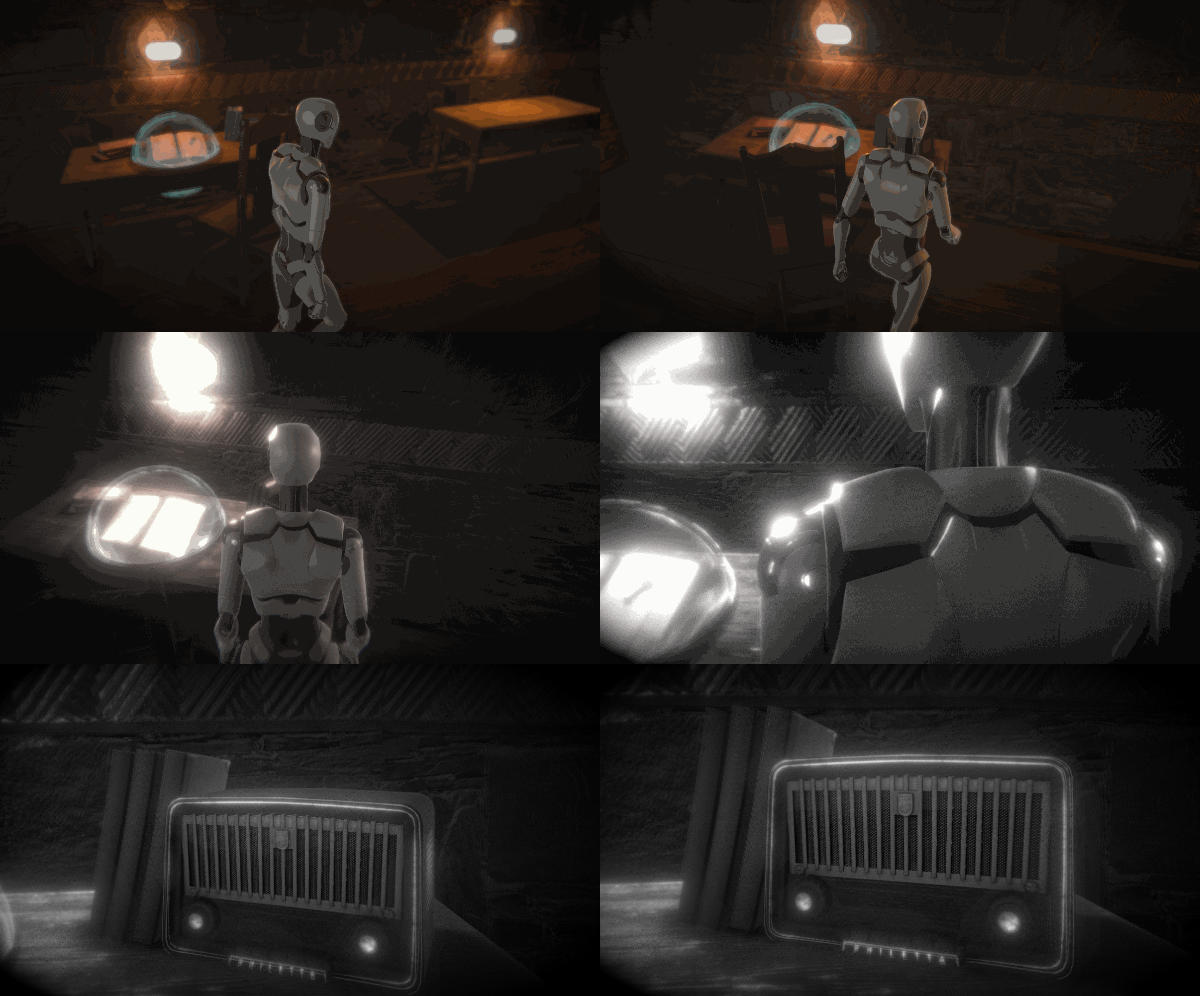
The cinemachine has noise applied aswell so emulate a closeup shake while viewing.
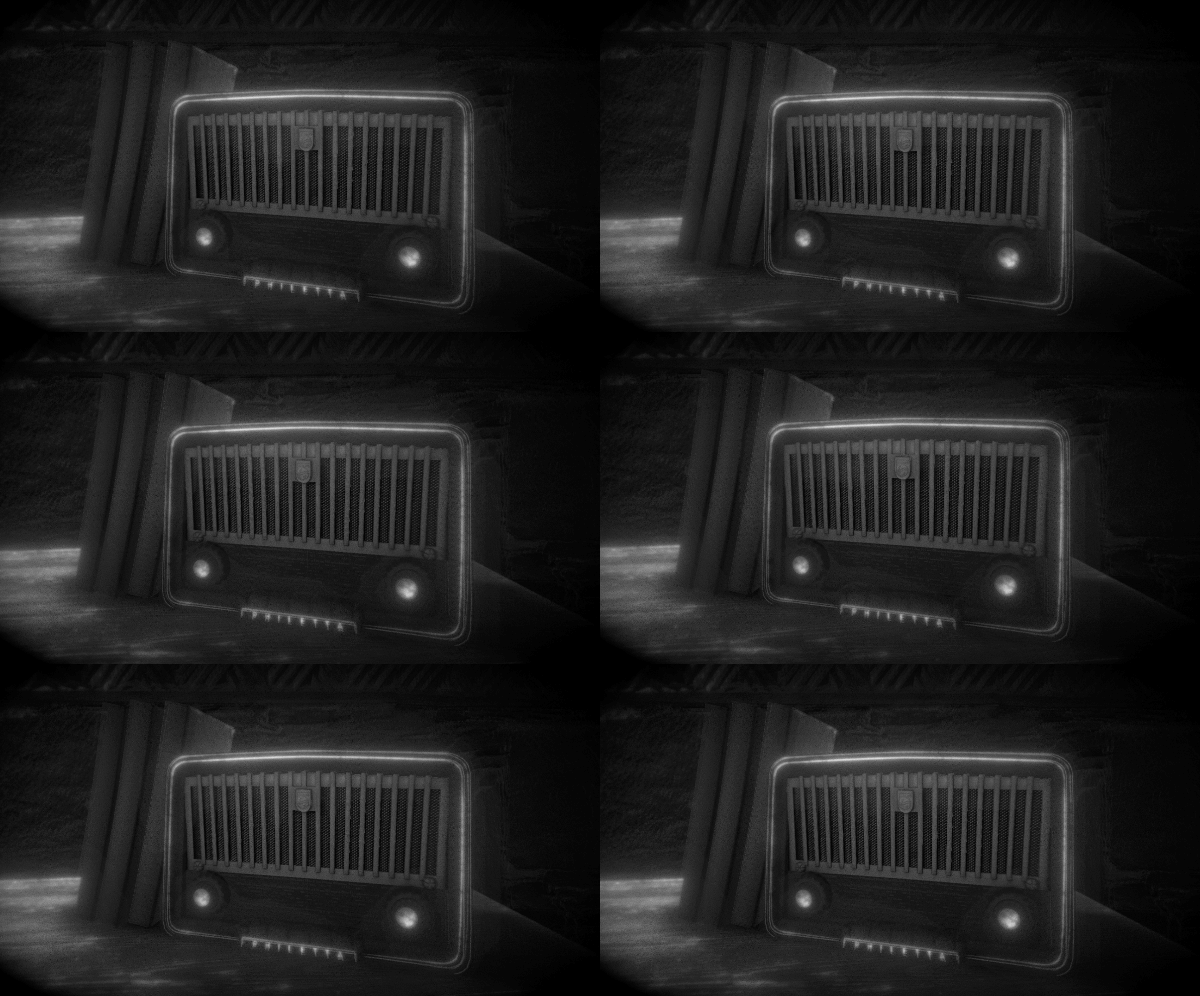
Another closeup shows the overall style achieved, with the bloom and greyscale in combination looking super nice in my opinion.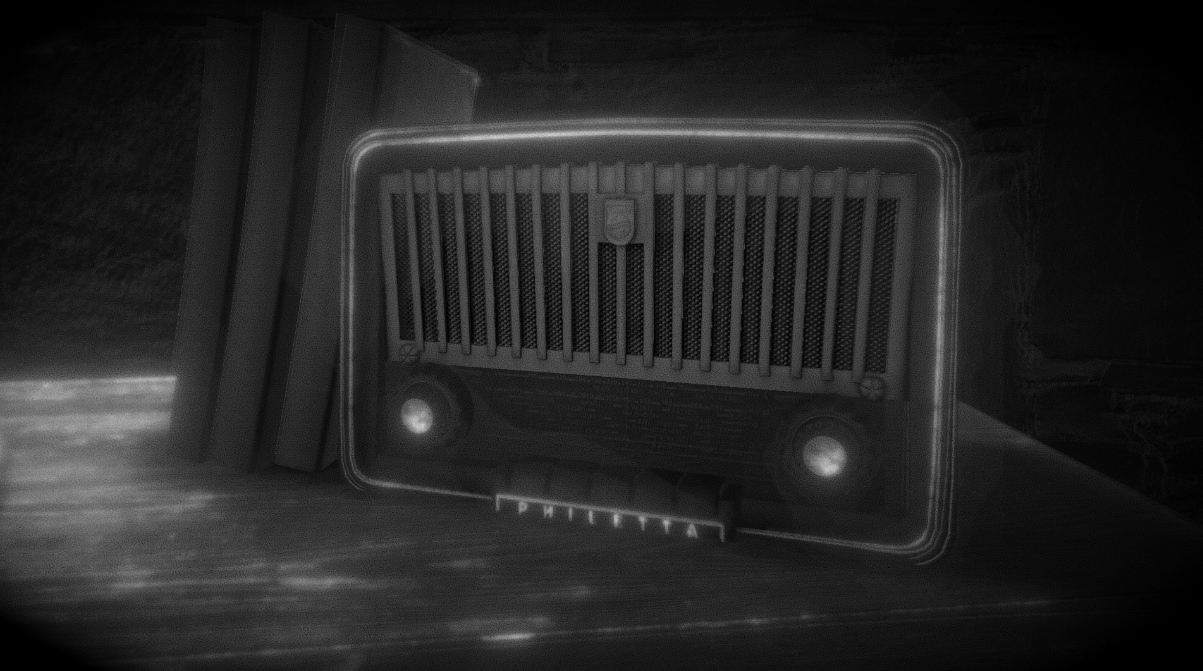
Thanks for reading through.
Get UTAS KIT207 Portfolio
UTAS KIT207 Portfolio
A Place for works completed at Uni.
More posts
- Portfolio 08 - Shadergraph/Lighting/PostAug 15, 2022
- Portfolio 07 - Game IdeasAug 09, 2022
- Portfolio 06 - A Simple GameAug 08, 2022
- Portfolio 05 - Navmesh AgentsAug 03, 2022
- Portfolio 04 - Unity TerrainAug 02, 2022
- Portfolio 03 - Animations (In Engine)Jul 28, 2022
- Portfolio 01 - Antique Assets SceneJul 24, 2022
- Portfolio 02 - Character AnimationsJul 24, 2022
Leave a comment
Log in with itch.io to leave a comment.