Portfolio 08 - Shadergraph/Lighting/Post
This week we followed various tutorials mostly from Brackeys in order to learn lighting post-processing and shadergraph in unity, having previously spent a bit of time learning these tools it was fun to go back and have a quick refresher as well as learn a few tips along the way.
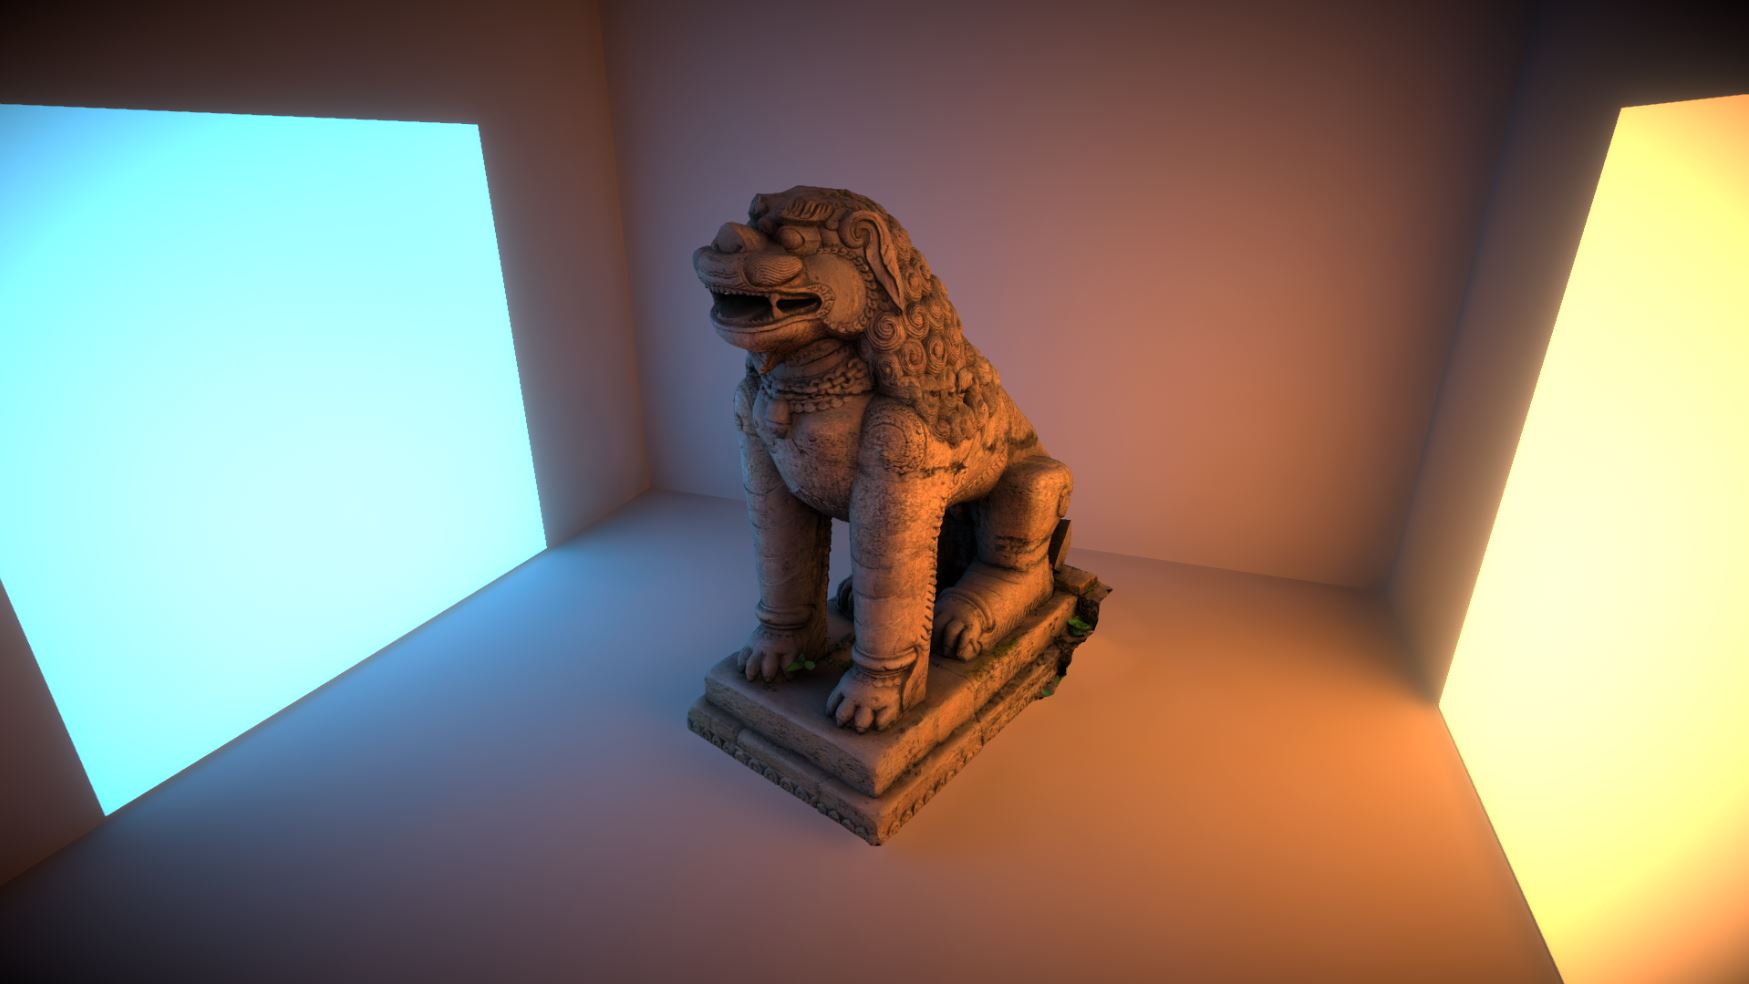
Firstly I followed this lighting tutorial by Brackey which showed us how to use static emissive game objects to generate lighting in a baked lighting setup. I used a downloaded model from sketchfab which I've linked down below and overall I'm happy with the results.
My Baked Lighting
Luckily the model came with the texture normal map and ambient occlusion which made the baking process very easy with the lights I included.
Patan Dhoka Lion - Nepal Heritage by 3Dystopia on Sketchfab
Shadergraph
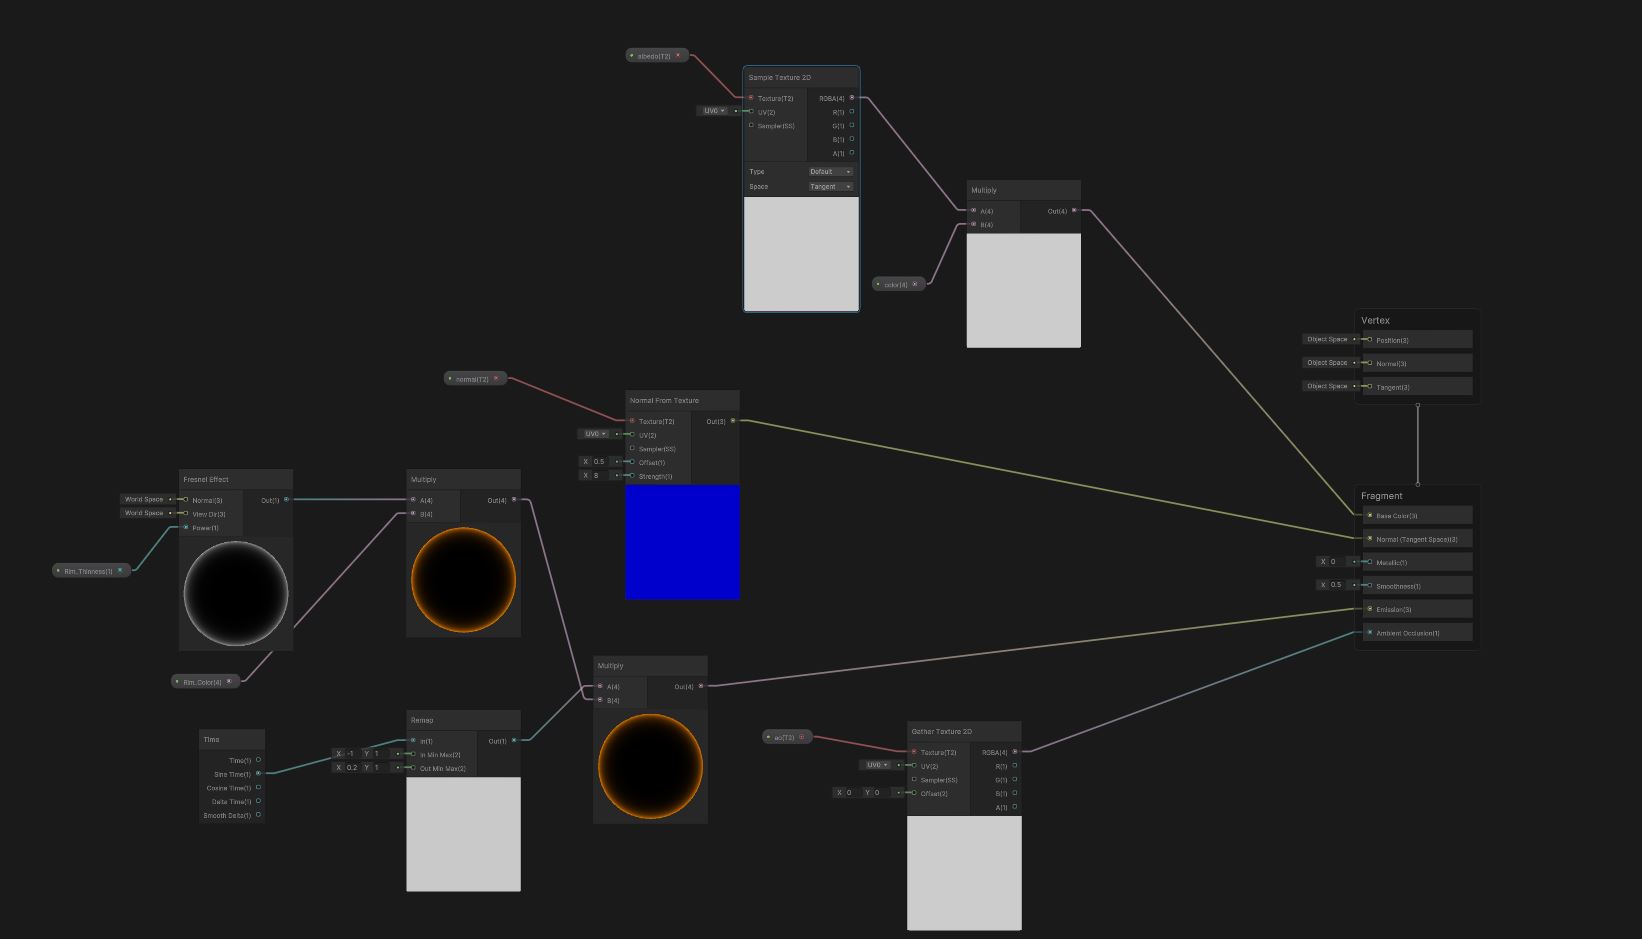
After this I quickly followed the Brackeys shader graph tutorial, I've never used Shadergraph before however, I've written a fair few shaders so it was great to see a tool that allows you to do it node based instead.
I followed the tutorial and applied this basic fresnel shader to my lion as well as set up parameters for linking the texture maps for albedo AO and normal.
Adding a sine wave multiply creates his pulsing effect which I'm pretty happy with.
Here you can see the shader graph setup which is almost identical to the video tutorial, apart from the additional texture map nodes added.
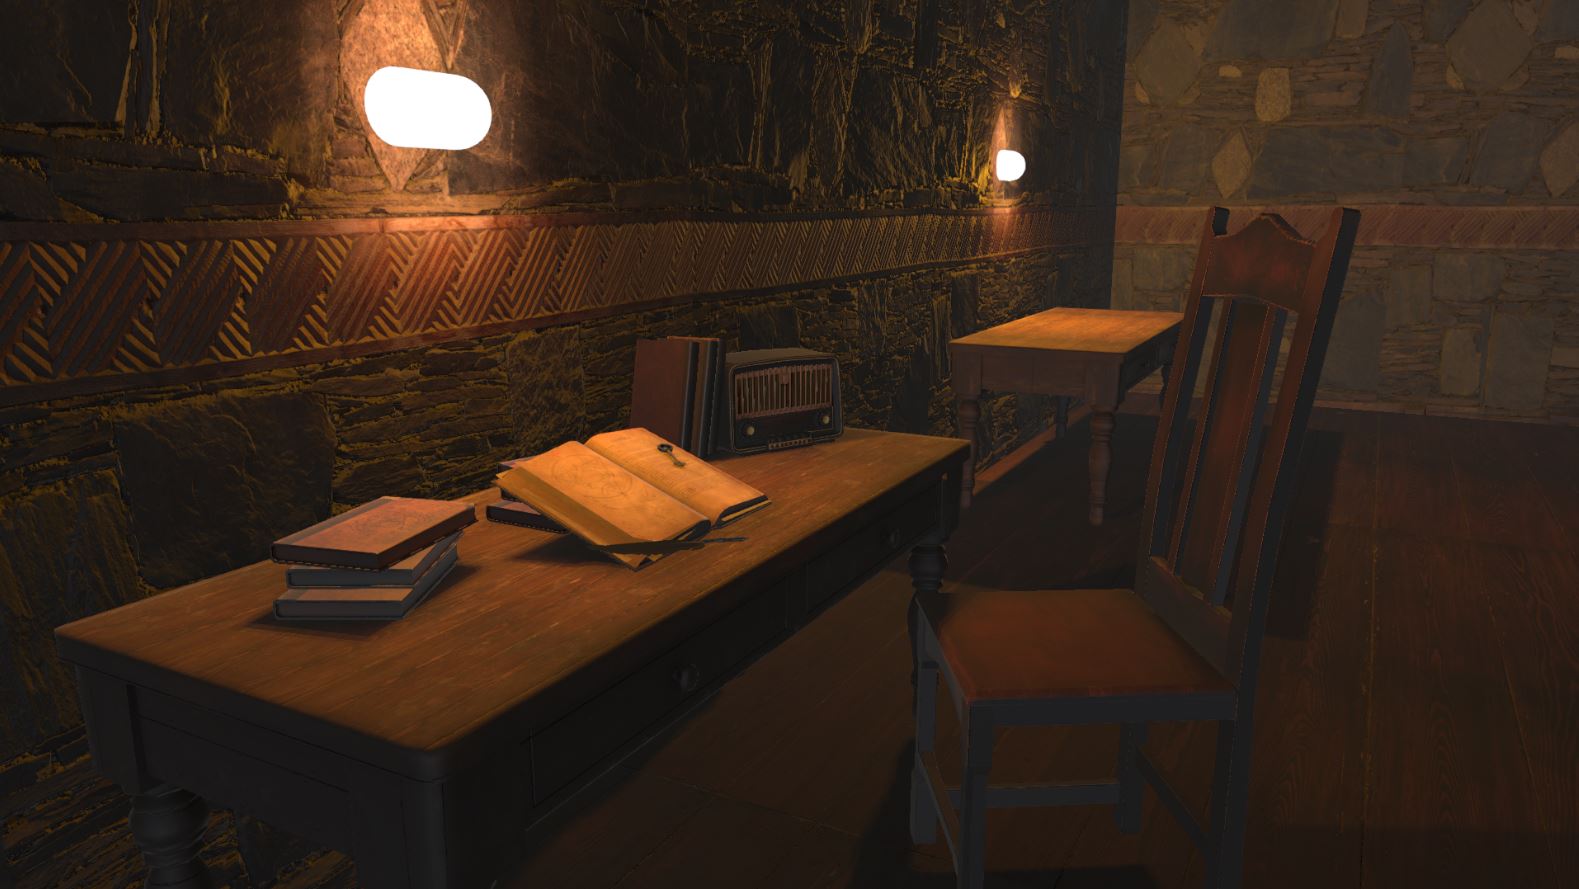
I opened up my original scene which I had already done some lighting to previously, however, I thought this was a good opportunity to re-light it, having learnt these new tips.
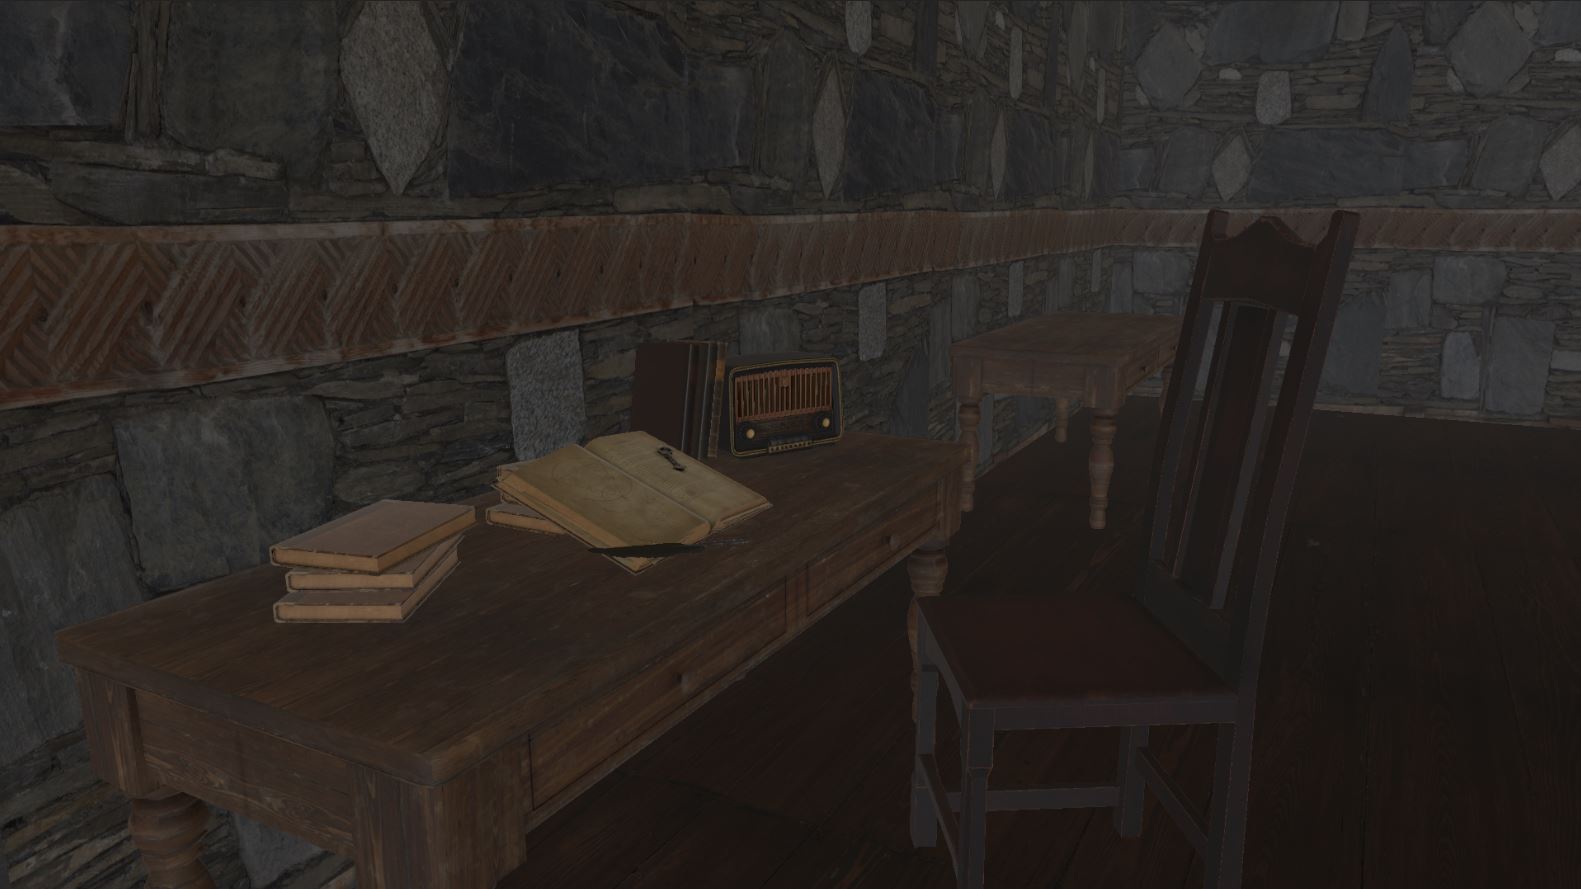
No Lighting/Post
Here is an example of the scene without any lighting or post-processing. it's simply the materials applied to each object with a simple environment HDRI that I had already set up previously.
Added Lights
I went through and added some emissive objects which will utilise the same technique as the lighting video, as well as adding a point light inside that object which will increase the radius the light casts shadows and allow me to scale up the radius to achieve a better result.
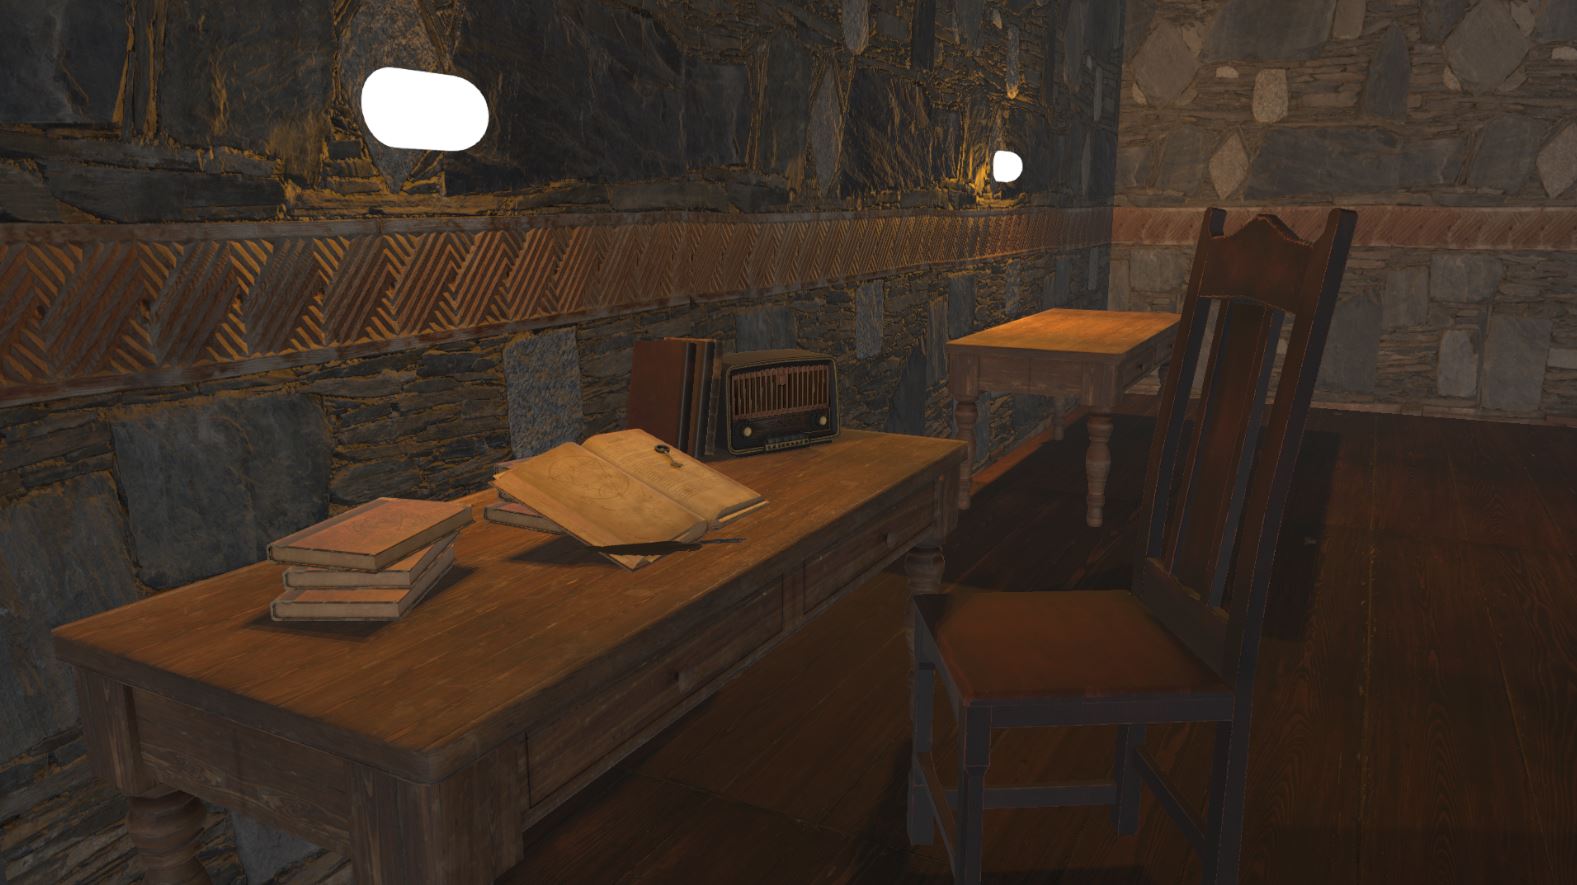
Baked lights.
I then set up the lighting parameters for my scene and performed a bake this first result turned out great, and I really like how the shadows are cast which really gives a warm and cosy aesthetic.
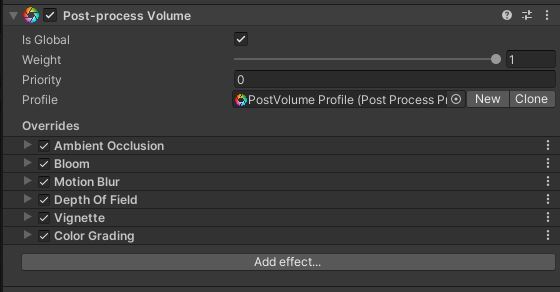
Finally, adding the post-processing stack I used ambient occlusion, bloom, motion blur, depth of field, vignette, and a bit of colour grading to achieve a very atmospheric visual effect.
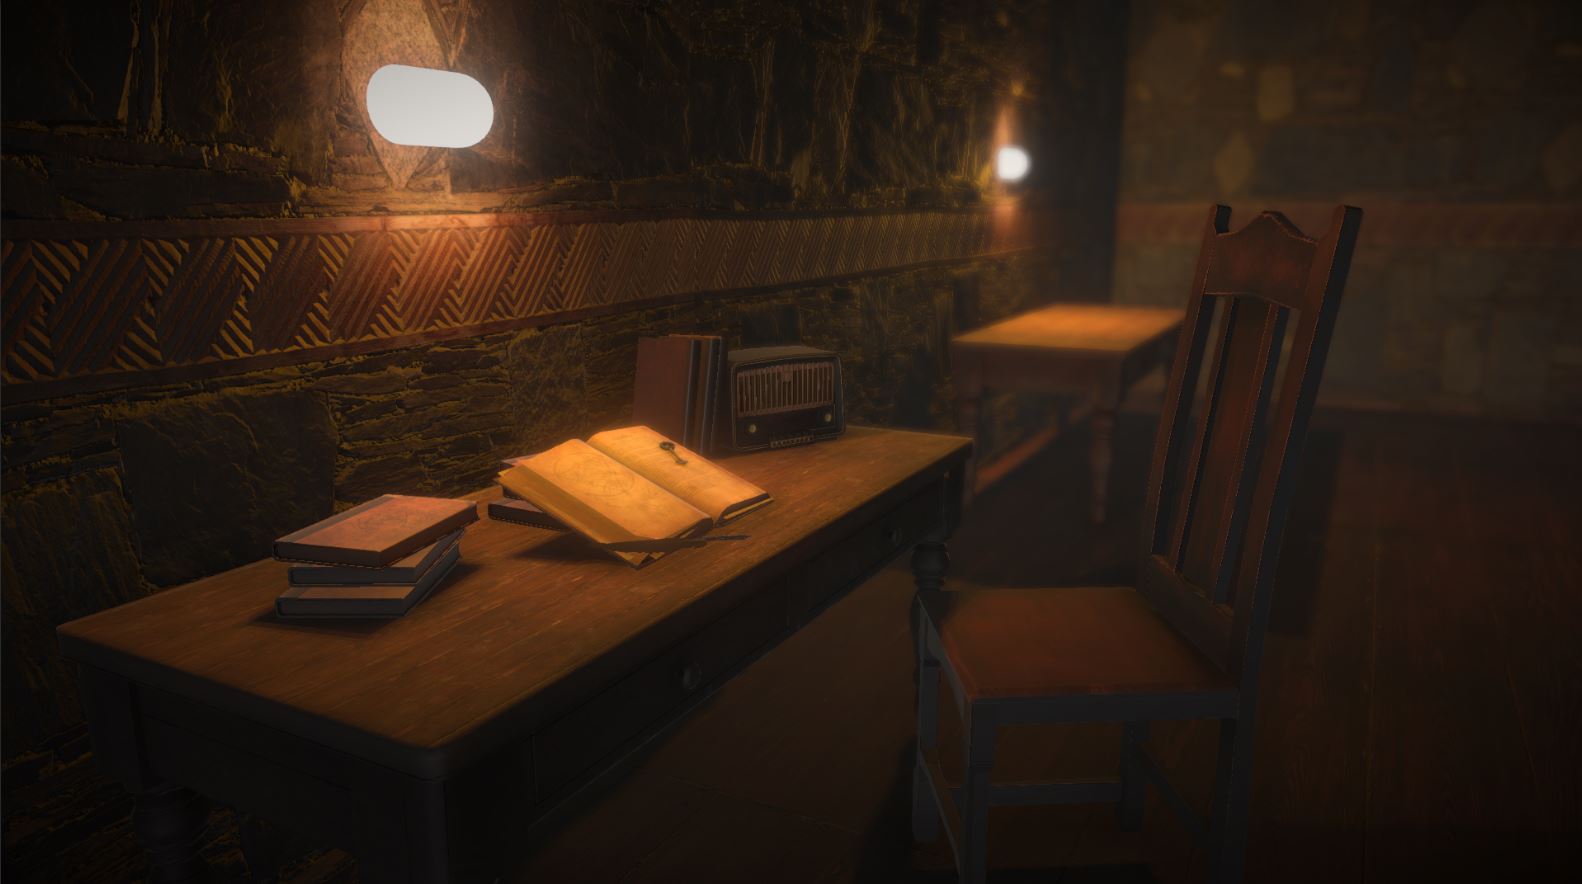
Done
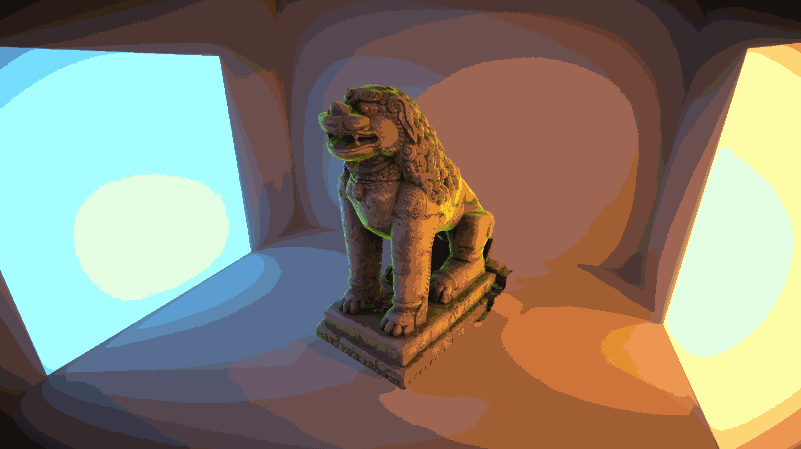
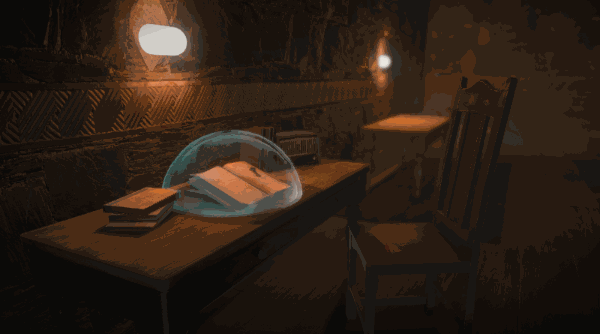
In this screenshot below you can see the depth of field effect adds a lot to an environment as it directs our attention to specific elements.
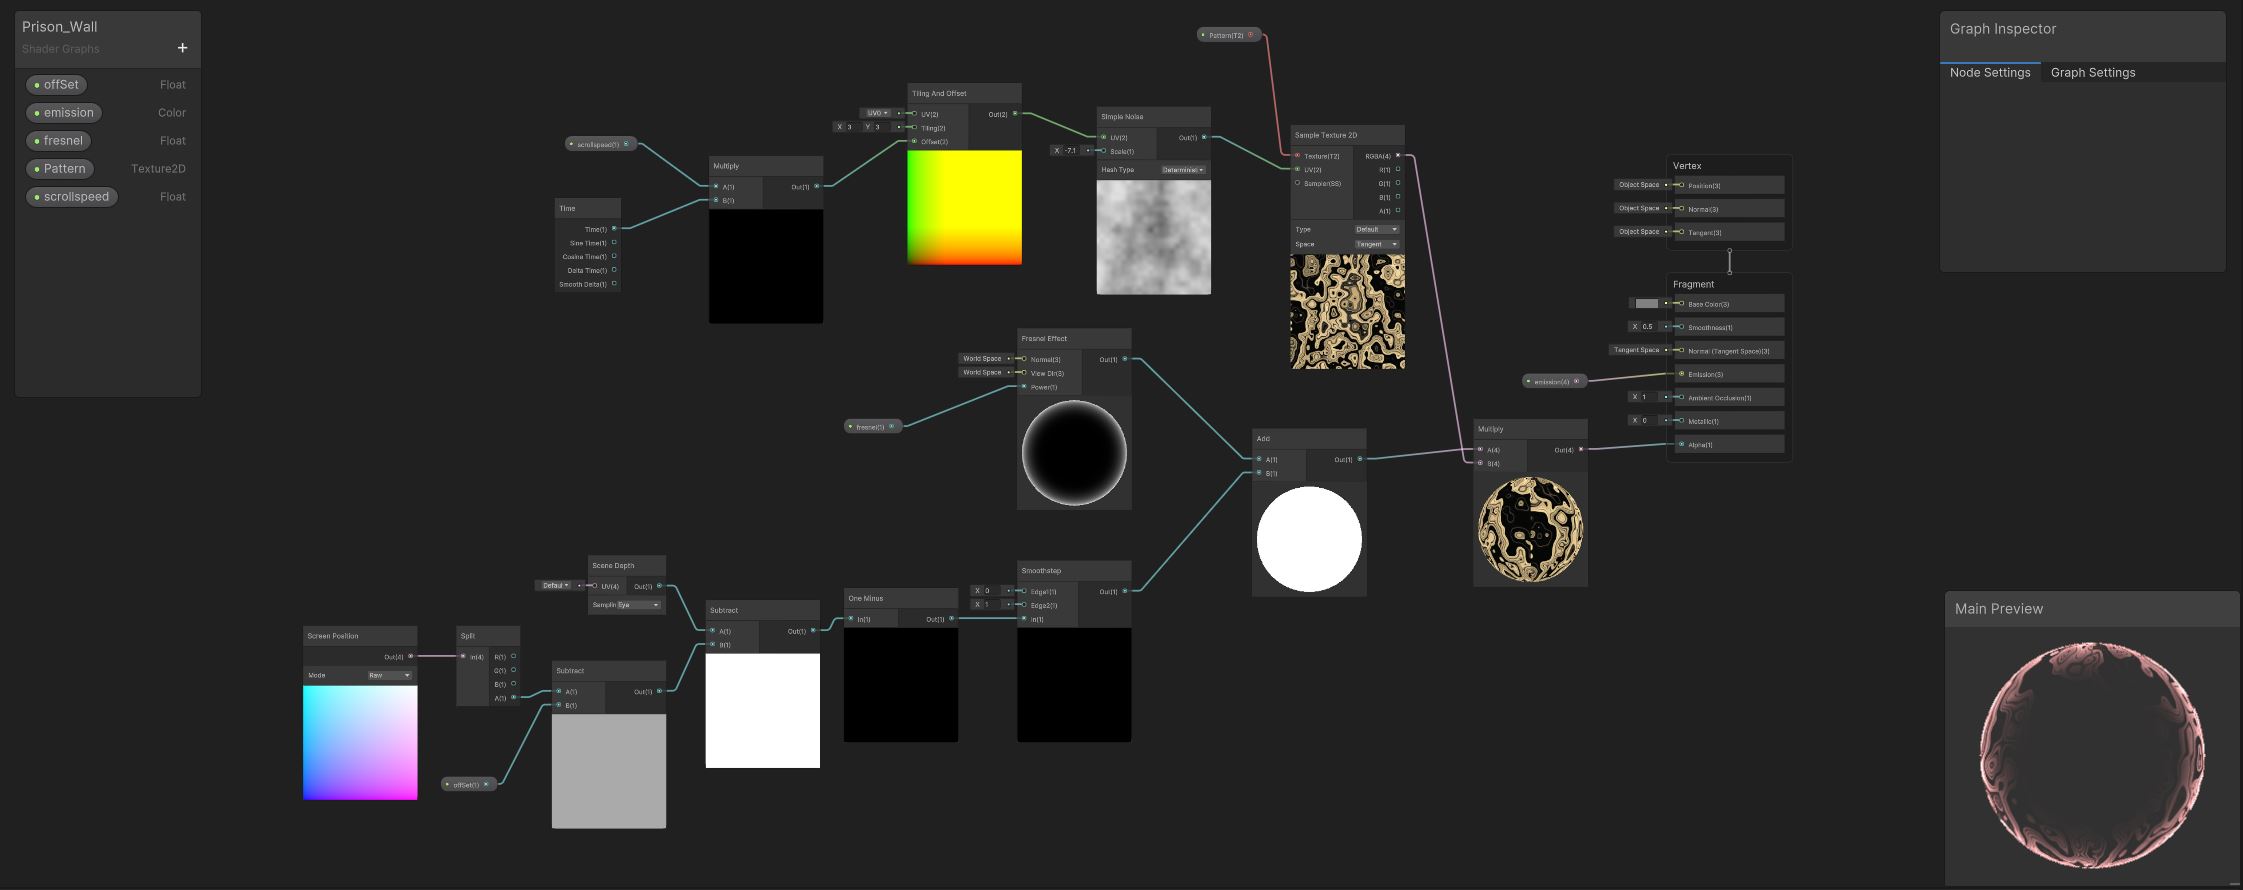
Forcefield Shader
After this scene was set up I went ahead and followed a shadergraph forcefield tutorial by Brackeys, I used the same shader graph as a base for a force field to indicate this object is locked, and I then used a basic noise to distort a texture to apply as my alpha mask which is animated by a time field, this creates an awesome effect.
Here is the result achieved, overall am very happy with the look of this scene.
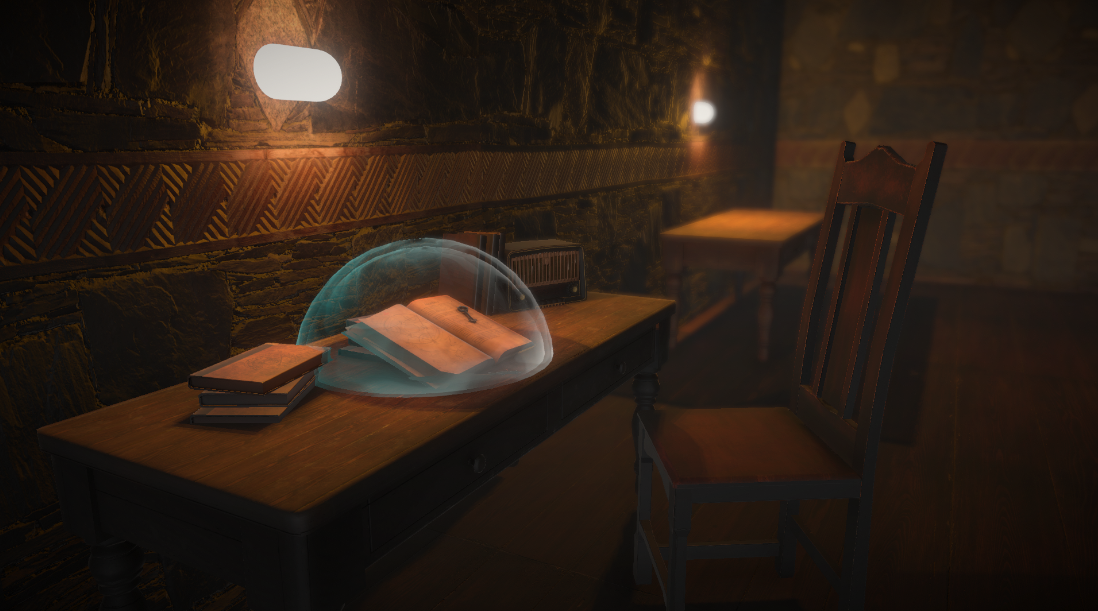
I duplicated this sphere and scaled it down while rotating on the x-axis 180 degrees. This allows both forcefields to rotate individually in different directions which improved the effect and gives an aura effect
Here's the whole shadowgraph, it’s very similar to the Brackeys tutorial with the addition of a noise and texture map to influence the alpha mask.
Thanks for reading, hope you enjoyed it.
Leave a comment
Log in with itch.io to leave a comment.